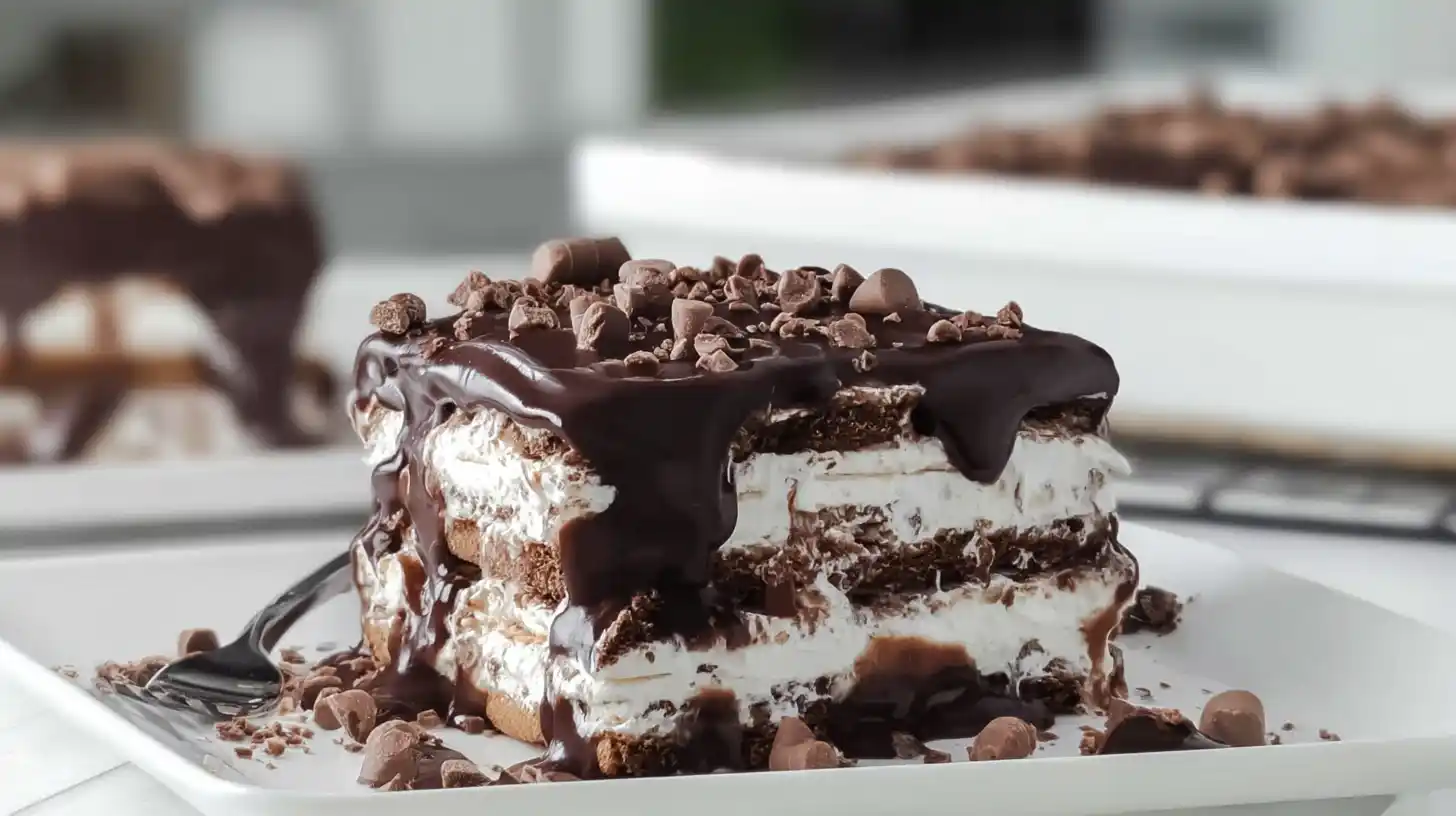
Chocolate Dreams in an Icebox? For me, it’s more than a no-bake chocolate dessert it’s a summer memory in a dish. My mom worked late, but on hot nights, she’d layer cookies and cream into magic.
Now I make it my way, turning it into one of those easy chocolate desserts for parties and quick and cheap desserts for families. No oven. No stress. Just chilled, chocolatey comfort.
Chocolate Dreams in an Icebox Creamy Layers, Slice After Slice
- It’s my easy summer dessert that makes people think I’ve been working for hours.
- But truth? It’s as simple as layering love, cream, and chocolate.
The Ingredients for Chocolate Dreams in an Icebox

- 4 cups heavy cream
- 1 cup powdered sugar
- 2 ½ teaspoons vanilla extract
- About 40 chocolate graham crackers or chocolate wafers
- Crushed chocolate graham crackers, wafers, or shaved chocolate (for garnish)
Stuffani’s Comfort
This is my “company’s coming” trick. A best icebox cake for entertaining that also happens to make my kids grin from ear to ear. It’s sweet, soft, and just the right kind of impressive.
Instructions for Chocolate Dreams in an Icebox
Step 1: Whip the cream like it’s the star
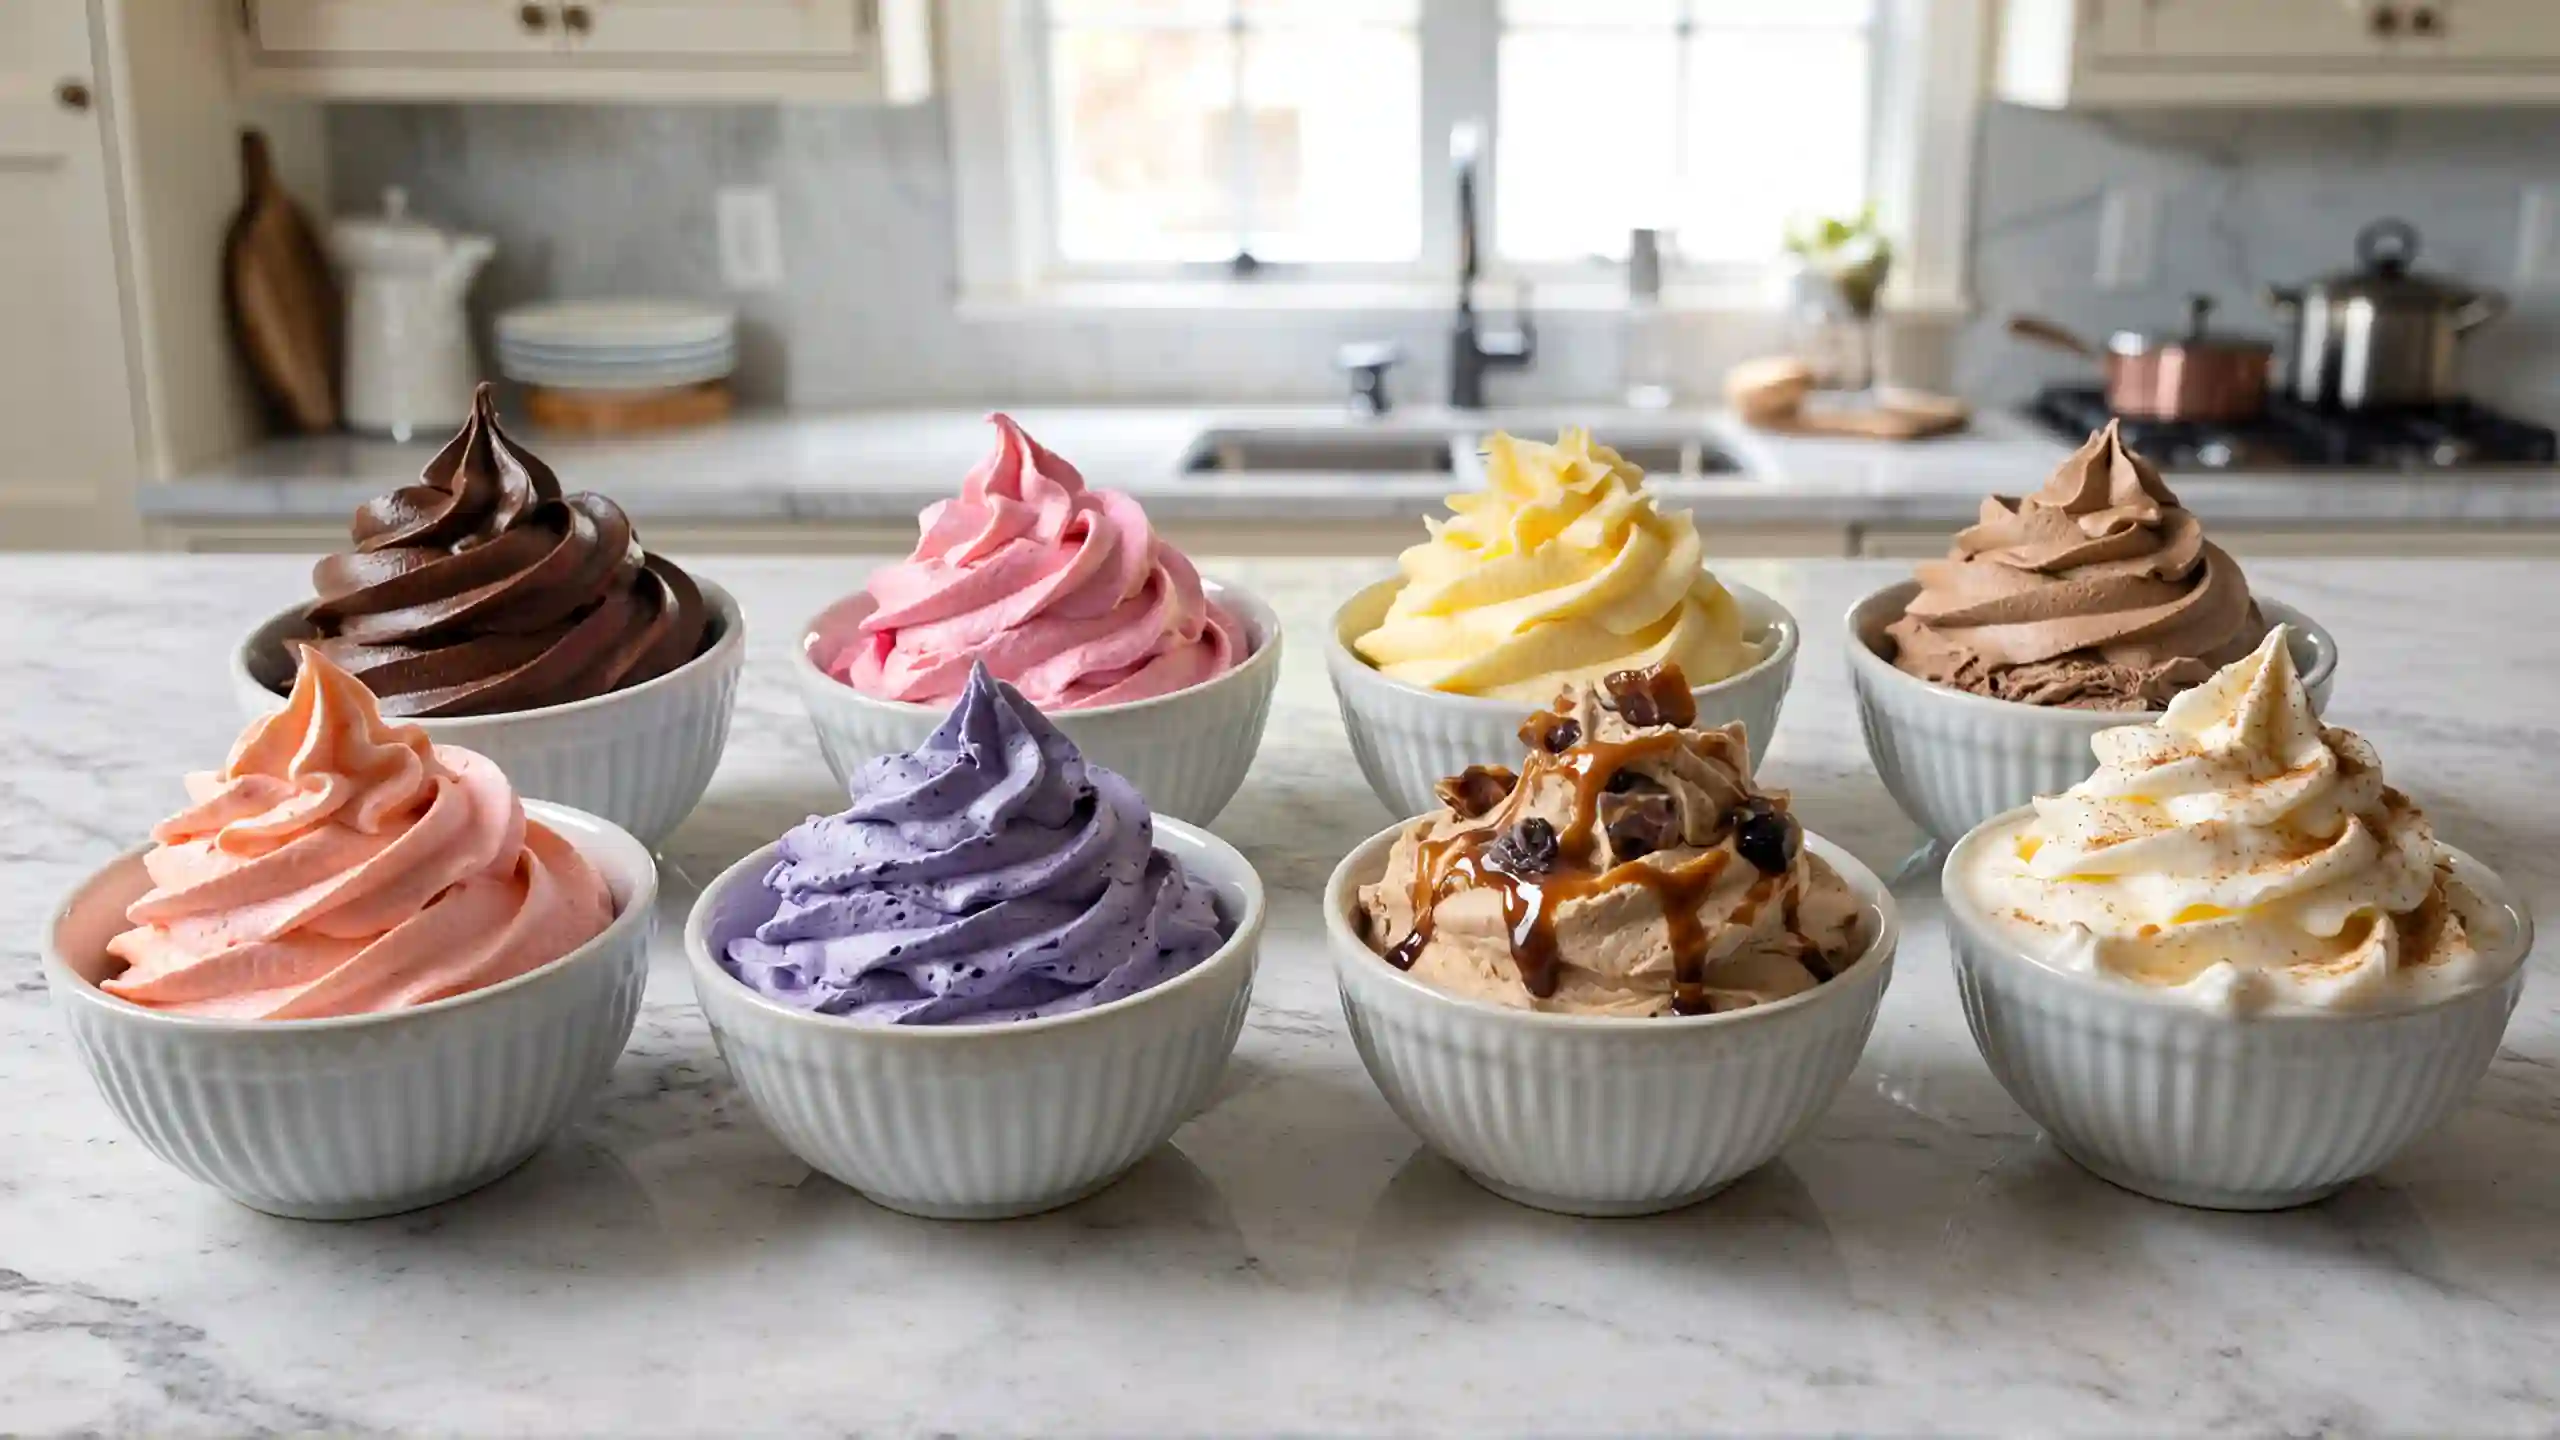
In a stand mixer, combine cream, powdered sugar, and vanilla. Start slow, then go high until stiff peaks form. Don’t overdo it stop when it’s lush and billowy.

Stuffani’s Tip: Overwhipped cream? I’ve been there. It goes from dreamy to grainy in seconds. Think soft clouds, not butter-in-training.
Step 2: Anchor your base
Spread a thin layer of whipped cream on the bottom of your dish. This keeps the first layer of wafers from sliding around.

Stuffani’s Whisper: I learned this trick after one wobbly cake slid across the counter. Never again.
Step 3: First layer of chocolate
Arrange your wafers over the cream, trimming if needed for a perfect fit.

Stuffani’s Note: I always sneak one cookie before I start. Quality control, right?
Step 4: Layer, repeat, smile
Divide your cream into four parts. Spread one part over the wafers, smooth it out, then layer more wafers. Keep going until you have four layers of cream, ending with cream on top.

Stuffani’s Advice: I use an offset spatula here it makes the top look like bakery work without bakery effort.
Step 5: Make it pretty
Sprinkle crushed wafers or shaved chocolate on top.

Stuffani’s Whisper: Sometimes I add chocolate curls just to hear my kids say, “Wow, Mom.”
Step 6: Let it chill
Cover and refrigerate for at least 5 hours, or overnight if you can wait. The cookies will soften, and the cream will set into something magical.

Stuffani’s Truth: I’ve made it at night just so I can have a slice with coffee in the morning exactly what I do with my Southern Peach Buttermilk Pound Cake.
Ways to Make It Yours, One Creamy Slice at a Time
- Some nights, I follow my Chocolate Dreams in an Icebox recipe to the letter.
- Other nights, I treat it like one of my easy dessert recipes for large groups and just make it work with what I have.
Real swaps, from your fridge not the store
- No graham crackers? Use Oreo thins or crushed shortbread for a richer bite.
- No heavy cream? Whip coconut cream it’s the tropical twist on an icebox dessert with graham crackers.
- Out of chocolate wafers? Layer brownies for a chewy surprise.
- Want another make-ahead win? My No-Bake Pineapple Heaven Cheesecake Dessert is a vacation in a pan.
Stuffani’s whisper: My best gourmet no-bake dessert recipes usually start with “What if I…” and end with my kids asking for seconds before the first slice is gone.
Easy touches that make it feel like you
- Drizzle melted dark chocolate for a glossy finish.
- Swap vanilla extract for almond for a nutty twist.
- Sprinkle crushed pistachios or sea salt for that fancy “just stepped out of a bakery” look.
- Want another cold, creamy bite? My Chocolate Covered Cherry Magic Bars bring the same indulgent joy with a cherry surprise.
Stuffani’s advice: My mom used to say, “Recipes are invitations, not rules.” The magic is in making it yours.
Serving and Storing Chocolate Dreams in an Icebox
- This Chocolate Dreams in an Icebox is my no-stress win on a busy weeknight.
- The kind of simple chocolate fridge cake that turns an ordinary Tuesday into a little celebration.
How to serve Chocolate Dreams in an Icebox
- Slice it slow so the layers stay tall and proud.
- Serve chilled this is a no-bake chocolate sheet cake meant to cool you from the inside out.
- Add a dusting of cocoa or shaved chocolate if you want it dressed up for company.
- If you love rich chocolate layers, my Chocolate Dump Cake from Mix gives the same comfort in a warm, gooey bite.
Stuffani’s Note:
I’ve served this straight from the fridge with my kids standing by like it’s a holiday.
And I’ve plated it on my best cake stand for friends. Both times, it felt like a win.
How to store it the right way (and still love it later)
- Let it firm in the fridge for 10 minutes before covering to keep the cream light.
- Wrap tight or place slices in containers so no fridge smells sneak in.
- Eat within 3 days it’s one of those quick and cheap desserts for families that’s best fresh.
- If you want another chilled keeper, my Air Fryer Chocolate Cupcakes stay just as sweet the next day.
Stuffani’s Whisper:
I’ve been known to stash the last slice behind the milk.
Not to hide it… okay, maybe to hide it.
Some desserts deserve to be yours alone for one more day.
Perfecting Your Chocolate Dreams in an Icebox
Common Mistakes and How to Fix Them
| Problem | Cause | Solution |
|---|---|---|
| Cake turns mushy | Layers absorbed too much cream | Use fewer layers, shorten fridge time |
| Whipped cream collapses | Overwhipped or underwhipped cream | Whip to soft peaks; avoid overmixing |
| Layers shift when slicing | Cake not fully set | Chill at least 5 hours or overnight |
| Topping loses texture | Stored uncovered in fridge | Cover tightly to keep whipped cream light and fresh |
Stuffani’s note I’ve made every one of these mistakes at least once usually when I’m in a rush or trying to impress. The truth? Even a wobbly icebox cake still tastes like love.
Flavor Twists to Make It Your Own

- Mocha: Stir in espresso powder for a coffee-kissed chocolate layer.
- Mint Chocolate: Add peppermint extract and top with crushed mints.
- Salted Caramel: Drizzle warm caramel sauce and finish with sea salt.
- Vegan/Dairy-Free: Use coconut whipped cream and plant-based milk.
- Gluten-Free: Swap in gluten-free cookies or crust for the base.
Stuffani’s note The best part about chocolate desserts? They’ll forgive almost anything. A splash of mint, a swirl of caramel suddenly, it’s not just dessert, it’s your story on a plate.
For more recipes follow me in pinterest and Facebook
Frequently Asked Questions
Can I make icebox desserts without whipped cream?
Yes. Try coconut whipped cream or Greek yogurt.
Can I use white chocolate instead of dark?
Yes. It gives a lighter, sweeter flavor.
How do I make it less sweet?
Use less powdered sugar and bittersweet chocolate.
Can I make this in individual servings?
Yes. Layer in jars or ramekins for quick chilling.
Conclusion
- This Chocolate Dreams in an Icebox is more than a no-bake treat.
- It’s cool, creamy comfort you can make ahead and share with anyone.
- Fast to assemble, easy to adapt, and always a crowd-pleaser.
Stuffani’s note: My mom taught me the best desserts weren’t always baked they were the ones made with care and shared without ceremony. This one’s exactly that.
Print
Chocolate Dreams in an Icebox – Easy No-Bake Dessert for All Occasions
- Prep Time: 20 minutes
- Cook Time: 0 minutes
- Total Time: 5 hours 20 minutes
- Yield: 12 servings
- Category: Dessert
- Method: No-Bake
- Cuisine: American
- Diet: Vegetarian
Description
Chocolate Dreams in an Icebox is my no-bake, make-ahead dessert that turns simple chocolate graham crackers and whipped cream into a creamy, cake-like dream. It’s the recipe I reach for when I want elegance without effort.
Ingredients
4 cups heavy cream
1 cup powdered sugar
2 ½ teaspoons vanilla extract
About 40 chocolate graham crackers or chocolate wafers
Crushed chocolate graham crackers, wafers, or shaved chocolate (for garnish)
Instructions
1. In a stand mixer with a whisk attachment or using a hand mixer in a large bowl, combine the heavy cream, powdered sugar, and vanilla extract. Start at a low speed, gradually increasing to high, and beat until stiff peaks form. Be careful not to overwhip.
2. Spread a thin layer of the whipped cream evenly across the bottom of a 9×13-inch baking pan or casserole dish. This helps anchor the first layer of graham crackers.
3. Arrange a single layer of chocolate graham crackers or wafers over the whipped cream, trimming the crackers as necessary to ensure full coverage.
4. Divide the remaining whipped cream into four equal portions. Spread one portion over the cracker layer, smoothing it evenly.
5. Add another layer of graham crackers over the whipped cream, followed by another layer of whipped cream.
6. Repeat this layering process two more times, ending with a final layer of whipped cream on top.
7. Sprinkle crushed chocolate graham crackers, chocolate wafers, or shaved chocolate over the top as a garnish.
8. Cover the dish and refrigerate for at least 5 hours or overnight. This allows the crackers to soften and meld with the cream, creating a cake-like texture.
9. Once set, slice into squares and serve chilled directly from the dish.
Notes
For the richest flavor, use high-quality chocolate wafers or graham crackers.
Overwhipping the cream will make it grainy stop when peaks just hold their shape.
For a twist, add espresso powder, peppermint extract, or salted caramel drizzle between layers.
Nutrition
- Serving Size: 1 slice
- Calories: 380
- Sugar: 22g
- Sodium: 190mg
- Fat: 26g
- Saturated Fat: 15g
- Unsaturated Fat: 9g
- Trans Fat: 0g
- Carbohydrates: 30g
- Fiber: 2g
- Protein: 4g
- Cholesterol: 85mg
Keywords: Chocolate Dreams in an Icebox, no-bake dessert, icebox cake, chocolate graham cracker cake, easy summer dessert